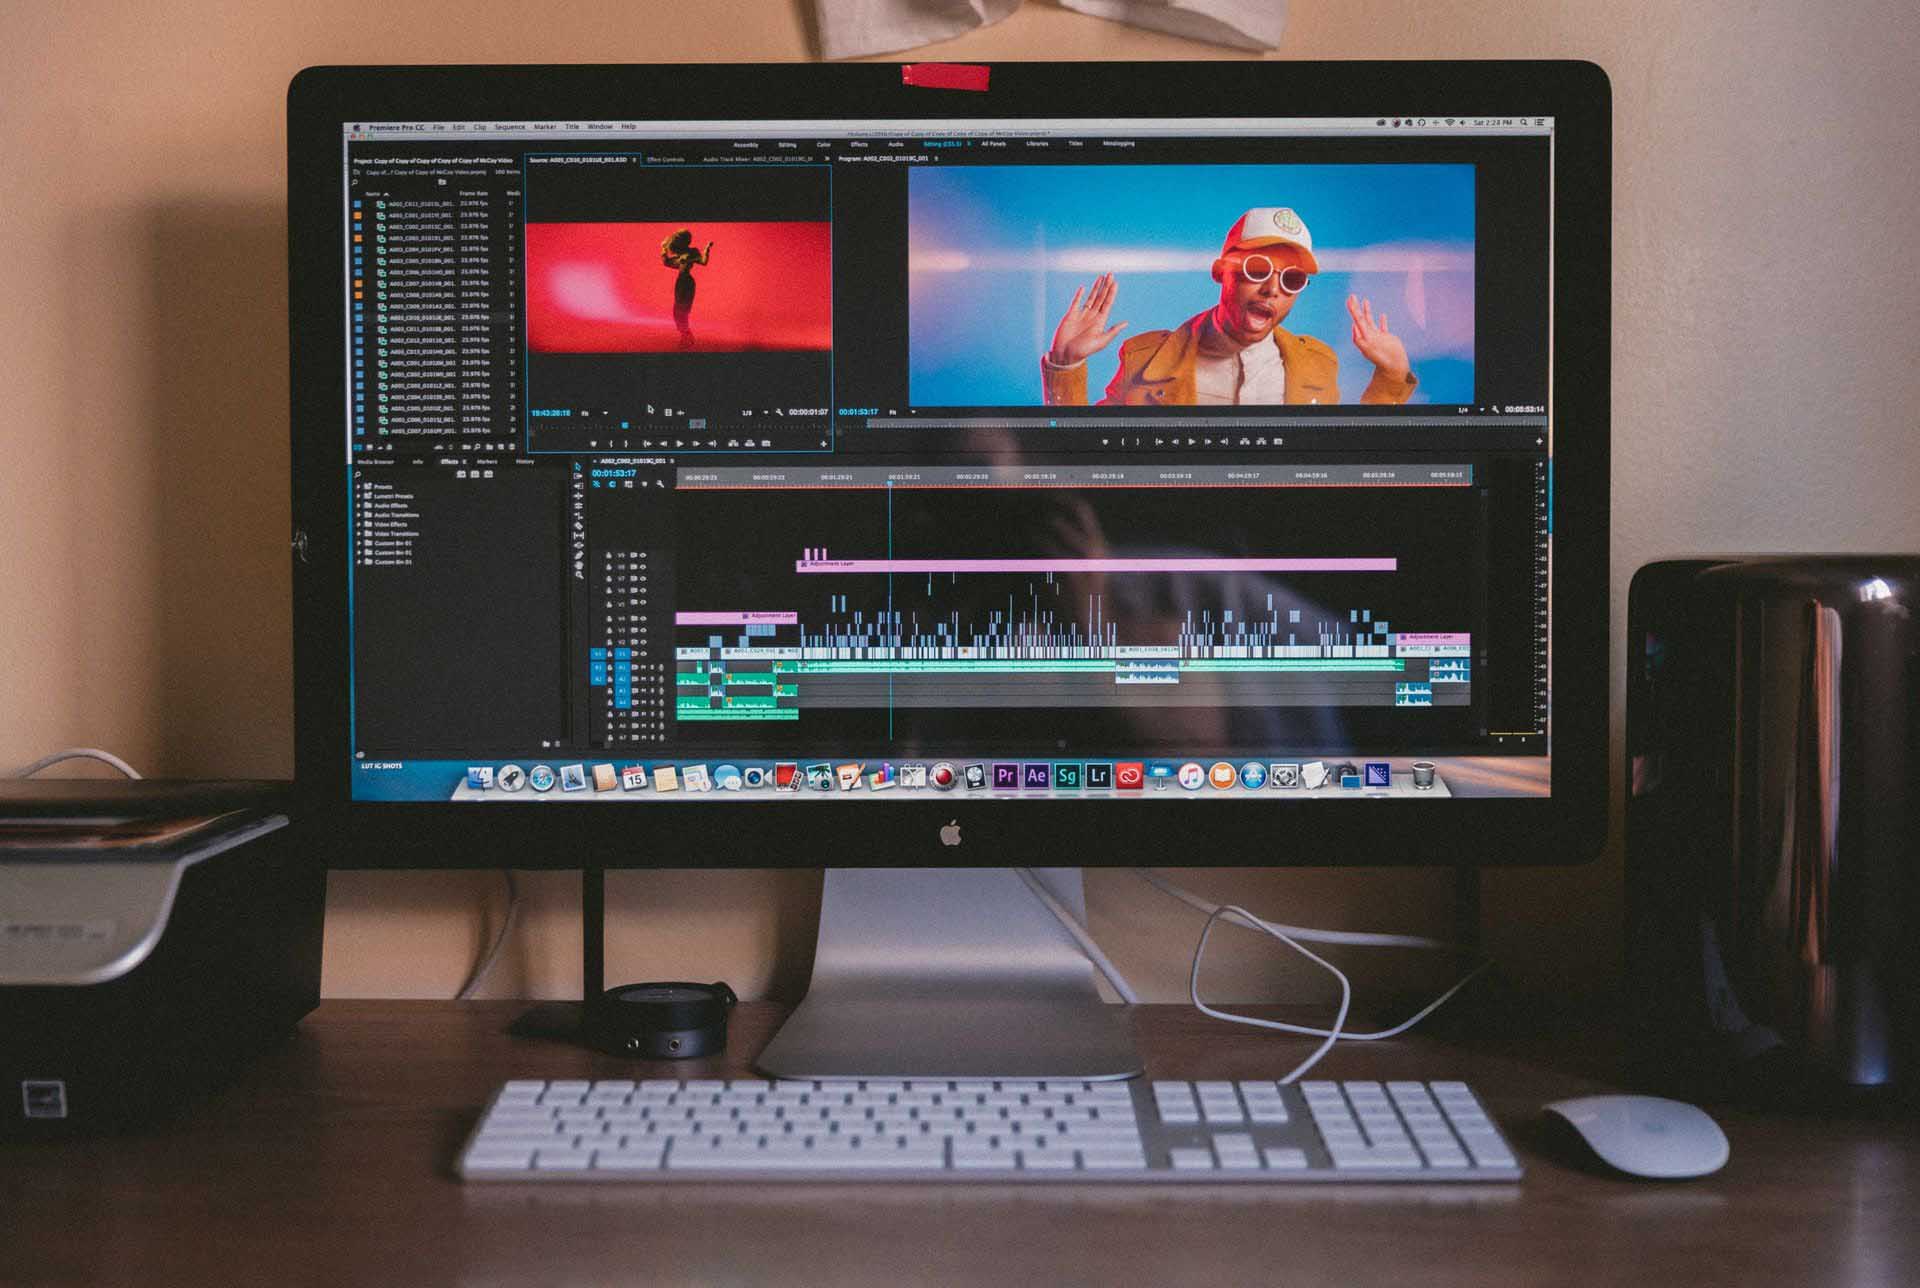
Best Effects In Premiere Pro

Adobe Premiere Pro is well-known for being a top-class video editing software. But, people who are new to editing may not be aware of some of the effects that the software offers. These effects have the potential to make your content better, and mastering them assures that. Today, we're exploring the Top 5 essential effects in Premiere Pro that you should learn and master!
1. Warp Stabilizer
Warp stabilizer is an effect that helps smooth out and remove jitter from a video. The tool itself has many uses including a kind of warp effect, but for most users - the smoothing effect it has is what you'll desire most. Now, it's important to note that this won't fix footage that is incredibly shaky. Rather, it's designed to smooth some of the imperfections of video that is already mostly stable.
To start, you need to nest your footage by right-clicking it and selecting 'Nest'. Next head to your effects and search for 'Warp Stabilizer' and apply it to the footage. From the effects panel, you want to keep it on 'Smooth Motion', reduce the smoothness to at most 25%, and change the Method to 'Position, Scale, Rotation'. The footage will crop slightly as it analyzes and processes the effect. Then, enjoy your newly smoothed and stabilized footage!
2. Exponential Fade
Exponential Fade is an amazing audio effect that helps cross between audio sources. It operates by fading out your old audio source while bringing in your new one in a clean way. To use it, first, locate it in the Audio Transitions effects, then apply it between your two audio clips. You can control the length of the transition time by dragging the effect.
3. Gaussian Blur
The gaussian blur is a wonderful effect that helps blur out your video source. This can be useful if you want to make a title or other bit of content pop over the footage. If you're wanting to 'censor' something, the gaussian blur effect can also help with hiding faces, documents or something else.
To apply this effect, you first need to find it under the Blur & Sharpen effects. But to use it effectively, we're going to need to tell you about the next effect - Key Framing.
4. Key Framing
Key Framing or Keyframes can be used to change the value of an effect or how it interacts with the clip it is effecting. Essentially, a keyframe is a marker that locks the clip at that moment. Then, when you add a second keyframe, any changes made between the two points will adjust in a linear fashion - unless other keyframes are used.
As an example, let's say you had a video clip that you wanted to reduce opacity from 100% to 20% over 2 seconds. The first point where opacity was 100%, you set a keyframe. Next, you set your position to 2 seconds later, add a keyframe, and then set the opacity to 20%. Once you playback the video, the opacity will drop 80% in those 2 seconds.
Keyframes can be used for everything from position, scale, fade, blur, and every other effect available in Premiere Pro. Mastering Keyframes will not only make your life easier but your productions more dynamic.
5. Lumetri Color
Lumetri Color is a suite of functionality that allows you to play with the colors of your video. This can help you to color correct and color grade your footage. Now, this functionality isn't the best tool to use for high-level correction but it comes stock with the program. That said, there's way too much to explain about color correcting and grading in this tutorial - so look forward to that in another video!
Want to use royalty-free music
in your next video?
→ Start a free trial today
Published on under Most Read
Best Effects In Premiere Pro
Source: https://www.epidemicsound.com/blog/5-essential-effects-in-premiere-pro/
Posted by: thomassathect.blogspot.com

0 Response to "Best Effects In Premiere Pro"
Post a Comment